
To install the ProPhoto Proofing plugin, follow the below steps in order:
Download the proofing plugin
Login to your ProPhoto account page and click the button to download the proofing plugin.
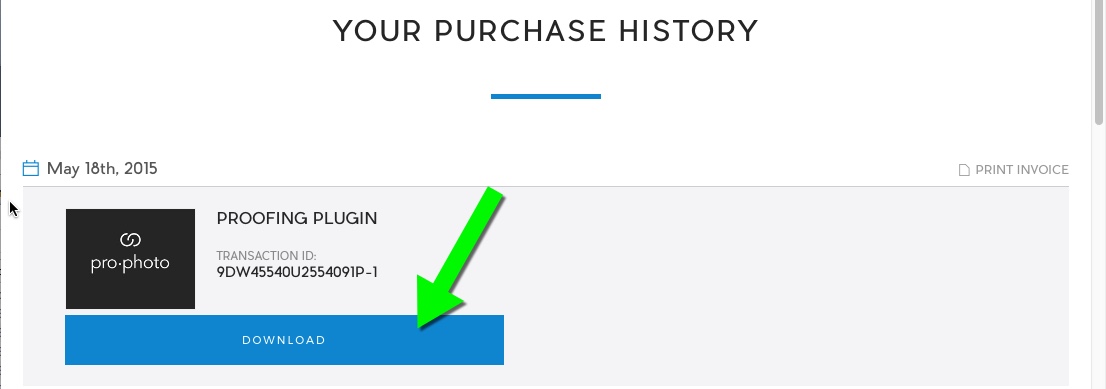
Click the button to download the version you need. 
If running ProPhoto 5 then download and use the P5 version. If live with P6, you’ll need the P6 version. If you are in test-drive mode then make sure that you are running both versions of the plugin at the same time. This way your clients, who see the ProPhoto 5 design, can still interact with their galleries while you are working on the P6 design.
Upload and Activate:
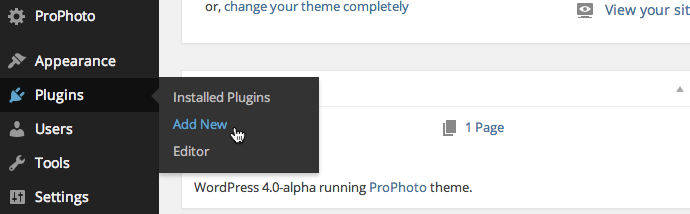
In your ProPhoto site’s WordPress admin area, navigate to “Plugins” => “Add New”.
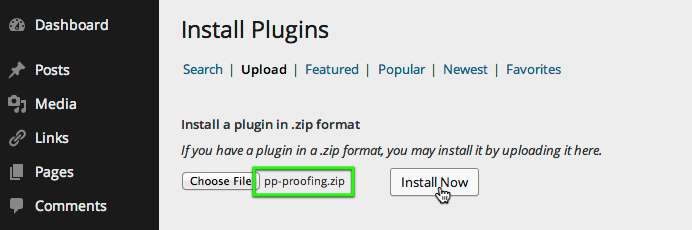
Next, click the “Upload” link in the top portion of the screen.

After clicking “Upload”, choose the file you downloaded after your purchase and click “Install Now.”
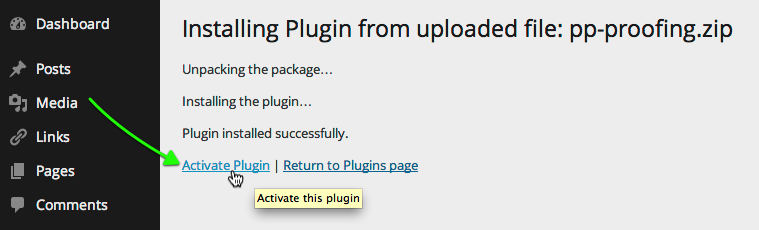
Once it has successfully uploaded, click to activate the plugin.
Registering
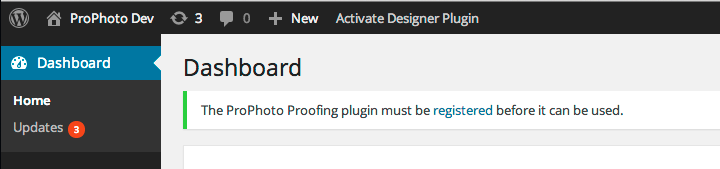
Once the ProPhoto Proofing plugin is activated, before you can begin using it, you must register your copy. Look for the green notice at the top of the screen:
Click the link and enter the payer email and transaction ID you were provided after your purchase. Locate your ID in your ProPhoto account page.


